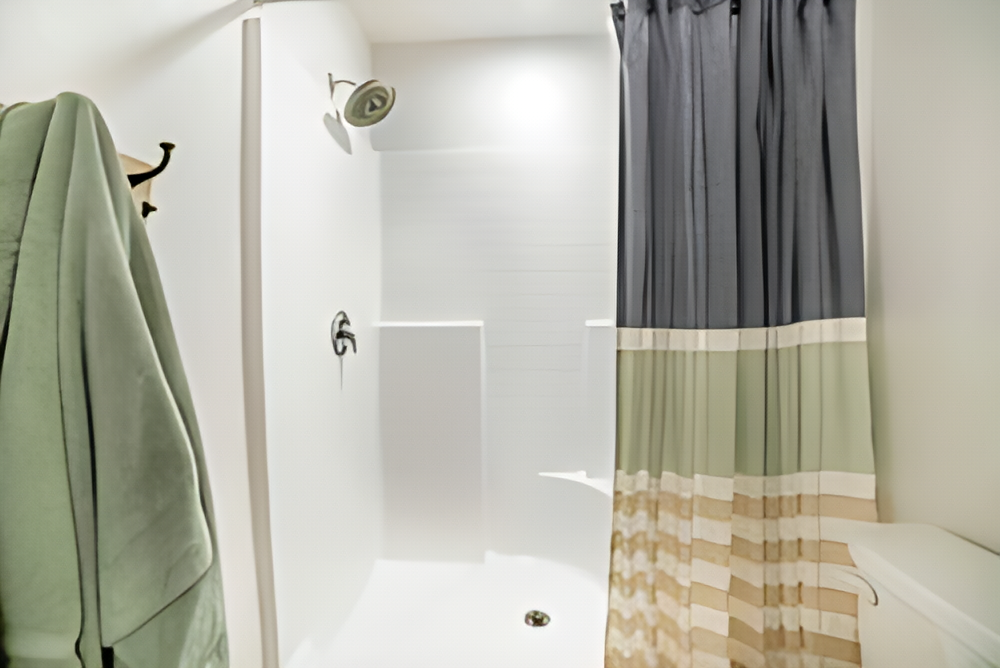
Removing a fiberglass shower can be a daunting task, especially if you’re trying to do it without breaking it. Fiberglass is a durable and lightweight material, but it can also be brittle and prone to cracking if mishandled.
Fortunately, with the right tools and techniques, from this article you will know How to Remove Fiberglass Shower Without Breaking It.
One of the most important things to keep in mind when removing a fiberglass shower is to be gentle and patient. Rushing the process or applying too much force can cause the fiberglass to crack or break.
It’s also important to have the right tools on hand, such as a utility knife, pry bar, and screwdriver. With these tools and a bit of know-how, you can safely and effectively remove your fiberglass shower without damaging it5.
How to Remove Fiberglass Shower Without Breaking It: A Step-by-Step Guide
Fiberglass showers are a popular choice for many homeowners due to their affordability and durability. They are lightweight, easy to install, and come in a variety of styles and colors. However, removing a fiberglass shower can be a challenging task, especially if you are not familiar with the material.
Fiberglass showers are made of a combination of resin and glass fibers that are molded into shape and then coated with a gel-like substance. This coating gives the shower its smooth and shiny finish. The thickness of the fiberglass varies depending on the manufacturer, but it is usually between 1/8 to 1/4 inch thick.
One of the most important things to keep in mind when removing a fiberglass shower is that it is a delicate material that can easily crack or break if not handled properly. Therefore, it is essential to take the necessary precautions to avoid damaging the shower during the removal process.
To remove a fiberglass shower without breaking it, it is important to have the right tools and equipment. This includes a utility knife, a pry bar, a hammer, and safety goggles. It is also recommended to have a helper to assist with the removal process.
Overall, understanding the composition and characteristics of fiberglass showers is crucial when attempting to remove them. With the right tools and techniques, it is possible to remove a fiberglass shower without damaging it.
How to Remove Fiberglass Shower Without Breaking It: A Step-by-Step Guide
Preparation Before Removal
Gathering Necessary Tools
Before starting the removal process, it is essential to gather all the necessary tools. This will ensure that the process is completed smoothly and without any hiccups. The tools required for removing a fiberglass shower include:
Screwdriver
Utility knife
Pry bar
Hammer
Safety glasses
Gloves
Securing the Area
It is crucial to secure the area around the shower before starting the removal process. This will prevent any damage to the surrounding walls, floors, or fixtures. The following steps should be taken to secure the area:
Cover the floor with a drop cloth or tarp to protect it from debris and scratches.
Remove any items or fixtures that are attached to the shower walls.
Turn off the electricity in the bathroom to prevent any accidents.
Turning Off Water Supply
Before starting the removal process, it is essential to turn off the water supply to the shower. This will prevent any water damage or leaks during the removal process. The water supply can be turned off by following these steps:
Locate the shut-off valve for the shower.
Turn the valve clockwise to shut off the water supply.
Turn on the shower to release any remaining water in the pipes.
By following these steps, the removal process can be completed smoothly and without any damage to the surrounding area.
Dismantling the Shower
Removing Shower Doors
The first step in removing a fiberglass shower without breaking it is to remove the shower doors. This can be done by removing the screws that hold the doors in place. The screws are usually located at the top and bottom of the doors. Once the screws have been removed, the doors can be lifted off the tracks and set aside.
Detaching Shower Pan
Next, the shower pan needs to be detached. This can be done by removing the screws that hold the pan in place. The screws are usually located around the perimeter of the pan. Once the screws have been removed, the pan can be lifted out of the shower base and set aside.
Extracting the Fiberglass Panels
The last step is to extract the fiberglass panels. This can be done by using a utility knife to cut through the caulk that holds the panels in place. Once the caulk has been cut, the panels can be gently pried away from the wall. It is important to work slowly and carefully to avoid damaging the panels.
By following these steps, anyone can remove a fiberglass shower without breaking it. It is important to take your time and work carefully to avoid damaging any of the components.
Handling the Fiberglass
When removing a fiberglass shower, it is important to handle the material with care to avoid breaking it. Here are some tips to help you handle fiberglass safely and effectively.
Safety Precautions
Before handling fiberglass, it is important to take safety precautions to protect yourself from injury. Wear protective gloves and safety glasses to prevent cuts and eye damage. If you have respiratory issues, it is also recommended to wear a mask to avoid inhaling any fiberglass particles.
Proper Disposal Methods
Fiberglass is not biodegradable and should not be put in the regular trash. Instead, it should be disposed of properly to avoid harming the environment. The best way to dispose of fiberglass is to take it to a recycling center that accepts it. If you are unsure where to take it, contact your local waste management department for guidance.
When transporting fiberglass, wrap it in plastic or paper to prevent it from breaking and causing injury. Do not throw it in the back of a truck or car without securing it properly.
By following these safety precautions and proper disposal methods, you can handle fiberglass safely and responsibly when removing a shower.
How to Remove Fiberglass Shower Without Breaking It: A Step-by-Step Guide
Post-Removal Cleanup
After successfully removing the fiberglass shower without breaking it, it’s time to clean up the mess left behind. This section will outline the steps necessary to clear debris and repair any damage that may have occurred during the removal process.
Clearing Debris
The first step in post-removal cleanup is to clear away any debris left behind. This includes any fiberglass shards, screws, or other materials that may have fallen during the removal process. It’s important to wear gloves and eye protection during this step to avoid injury.
One effective way to clear debris is to use a shop vac or vacuum cleaner with a hose attachment. This will allow you to quickly and easily suck up any small pieces of debris. For larger pieces, use a broom and dustpan to sweep them up and dispose of them properly.
Repairing Any Damage
During the removal process, it’s possible that some damage may have occurred to the walls or flooring surrounding the shower. It’s important to inspect the area for any cracks, holes, or other damage before installing a new shower.
If damage is found, it should be repaired before installing the new shower. This may involve patching holes or cracks with spackle or joint compound, or replacing damaged tiles or flooring. It’s important to allow any repairs to fully dry and cure before proceeding with the installation of the new shower.
In conclusion, post-removal cleanup is an important step in the process of removing a fiberglass shower without breaking it. By clearing away debris and repairing any damage, you can ensure a smooth installation of the new shower.
How to Remove Fiberglass Shower Without Breaking It: A Step-by-Step Guide
Conclusion
Removing a fiberglass shower can be a daunting task, but with the right tools and techniques, it can be done without breaking the shower. It is important to take the time to properly prepare the area and protect the shower from damage.
Using a utility knife to cut the caulk and adhesive around the shower is a crucial step in removing it safely. It is also important to use a pry bar or similar tool to gently lift the shower away from the wall, being careful not to apply too much force.
Protecting the shower with cardboard or a drop cloth can help prevent scratches or damage during the removal process. It is also recommended to have a helper to assist with lifting and carrying the shower out of the bathroom.
Overall, with the right tools and techniques, removing a fiberglass shower can be a manageable DIY project. Taking the time to properly prepare and protect the area can help ensure a successful removal without any damage to the shower.